The fine art of staining – made easy!
Staining is, in a sense, the supreme discipline of wood surface finishing. No other coating process offers such a wide range of possibilities for shaping the character of wood. What types of stains are actually available? What are their respective special features and, above all, how can they be applied reliably and safely? ADLER experts Jutta Libowitzky and Mario Menghin explain.
Varnishes, oils and waxes can protect wood, they can enhance and colour it – but only wood stain can really change its character. There is a simple reason for this: varnishes lie on the surface of the wood and form a film there. Wood stains, with their dyes and pigments, penetrate deeper into the wood and thus change its appearance. Stains do not create a protective film on the surface, which is why they always have to get a finsh.
Steps
-
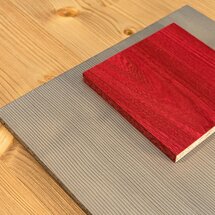
Many possibilities …
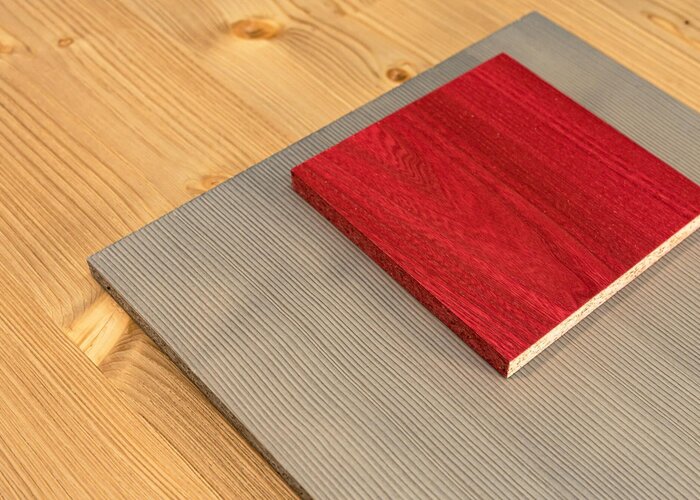
The effect of a stain depends on the type of wood. The visual character of softwoods is determined by the hard annual rings, which can be emphasised with a positive stain. These stains contain special dyes that react with the wood extractives. As the hard annual rings contain more wood extractives, the reaction is stronger there – the colour of the annual rings is emphasised. This chemical reaction takes a certain amount of time, so it is important to observe the recommended application quantity and refrain from forced drying. Depending on the stain used, the positive effect varies: from elegant with ADLER Arova Ultra stain to striking antique with Arova Alpin to a rustic stain pattern with Arova Alpin Trend, which resembles that of old, sun-burnt wood. Negative stains, on the other hand, contain non-reactive colour components that can be better deposited in the soft wood between the annual rings, thus enhancing its colour.
-
... on coniferous and deciduous woods
A similar effect can be seen in hardwoods, which have coarse or fine pores depending on the type of wood. Pore-accentuating stains penetrate deep into the pores, thereby highlighting them. This effect is particularly pronounced with the new Arova Flex stain from ADLER, whose finely ground, micronised pigments are able to penetrate the pores particularly well. Arova Rustica creates a rustic stain pattern on coarse-pored hardwoods. Levelling stains such as Arova Style from ADLER or the semi-transparent colour stain Arova Colora are stain systems that deposit more heavily on the wood surface, thus evening out differences in the wood, such as a very uneven appearance or veneers with different grains.
-
Well chosen
With so many options available, how do you find the right stain? In addition to the desired effect – rustic or elegant, subtle or striking – you also need to consider the surface of the wood, its grain, its pore structure and its natural colour. Stain cards with original samples can be helpful here – and if you want to be on the safe side, make a sample on the wood you are using before staining. Not only should the stain itself be applied, but also the top coat, which provides the necessary surface protection – after all, the colour intensity and Gloss level of the varnish also influence the final appearance. Regardless of which type of stain you ultimately choose, you should only use quality products when staining. High-quality stains such as those from the ADLER range are safe and reliable to use and also have high colour stability and lightfastness, which preserves the colour of the stain permanently. With lower quality products, on the other hand, the colour may change significantly over time due to the effect of light.
-
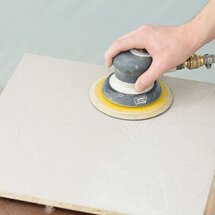
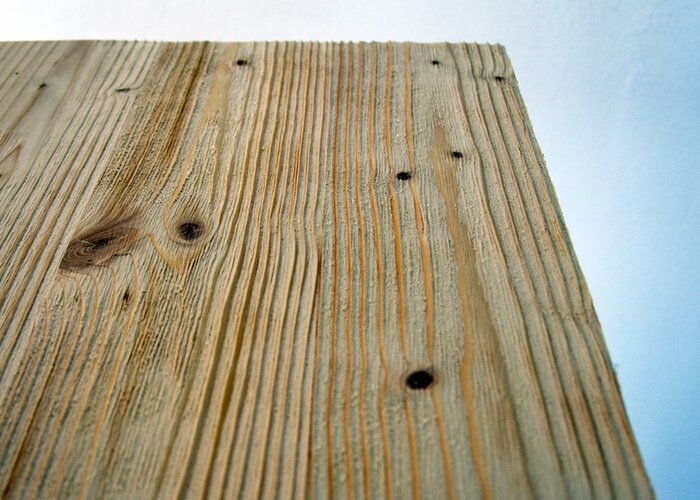
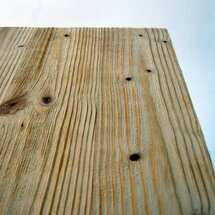
Conscientiously prepared
Stains often have a reputation for being particularly tricky and prone to errors when applied. In fact, staining does require a particularly careful approach – but if you follow a few tips, there is no need to worry. When working with a particular stain for the first time, always consult the technical data sheet first. In addition to the application quantity and method – even though stains are usually sprayed on, some are also suitable for brushing or dipping – the correct substrate preparation is also noted here. Clean sanding of the wood with sharp sandpaper is the basis for a beautiful stain finish: the coarser the wood is sanded or brushed, the stronger the stain effect will be. Afterwards, the sanding dust is carefully removed and the surface is checked again – wood with glue seepage, resin inclusions or cracks should not be used. With water-based stains, it is also advantageous to wet the wood with warm water – this opens the pores and allows the stain to be absorbed more evenly.
-

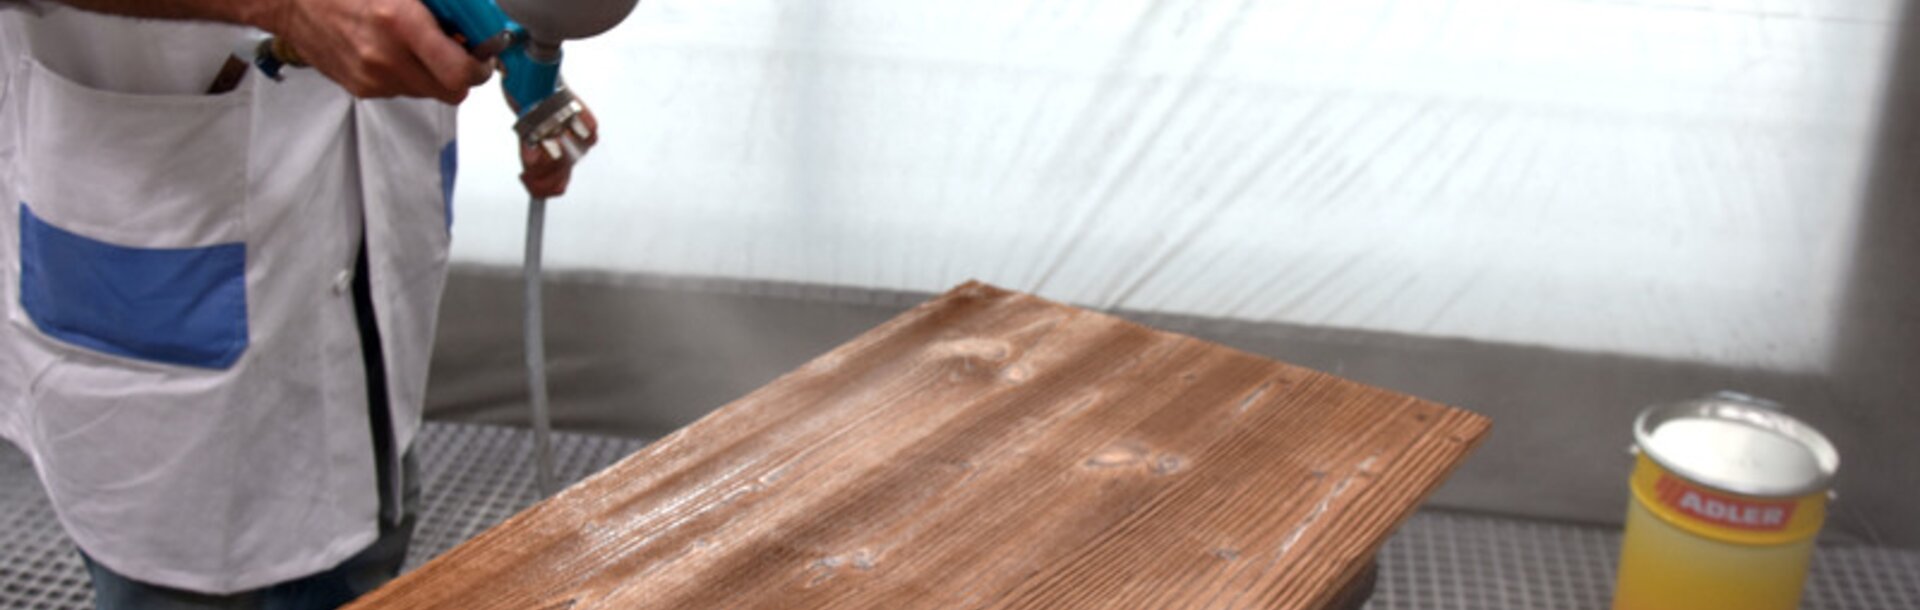
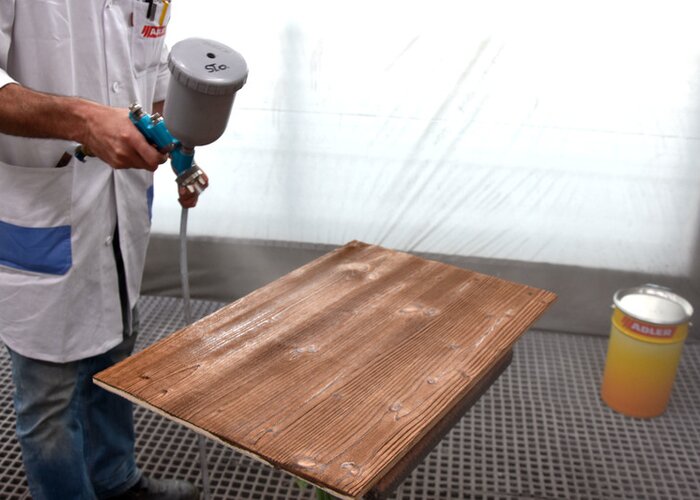
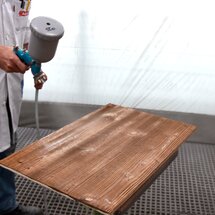
Carefully applied
Care must also be taken when applying the stain, for example with regard to the intended application quantity: if too little material is applied, unsightly clouding may occur, especially with levelling stains, but too much material will also affect the stain pattern. It is advisable to work with small nozzle sizes and low pressure, and to clean and dry the spray gun thoroughly before staining. It is best to apply the stain wet-on-wet in two coats, working in heavily overlapping strokes. After application, the surface should have an even wet sheen in the light, but there should be no liquid standing on the wood. Pay particular attention to the first and last strokes and the edges – it is common for different amounts of material to be applied here. The stain must then be allowed to dry thoroughly before the top coat is applied, otherwise discolouration may occur, especially with water-based stains. By the way: if light wood is stained white, it is advisable to also colour the top coat slightly white, e.g. with ADLER's Solva-Tint colour concentrate, to ensure an even and yellowing-free appearance.
-
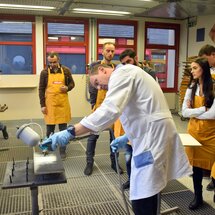
Practical training
If you have little experience in the application of stains, a relevant seminar could be the right place to start. The ADLER Academy regularly offers staining seminars, which focus on practical application rather than theory – from selecting the right staining system and pre-treatment of the substrate to applying the stain and top coat. This means that nothing stands in the way of a perfect end result in the "high art of staining" – and the customers of carpenters and joiners can look forward to unique surfaces that showcase wood in all its characterful naturalness.

© by adler-lacke.com