This is how professionals renovate: Apply a new seal to hallways and parquet floors with the ADLER Floor products
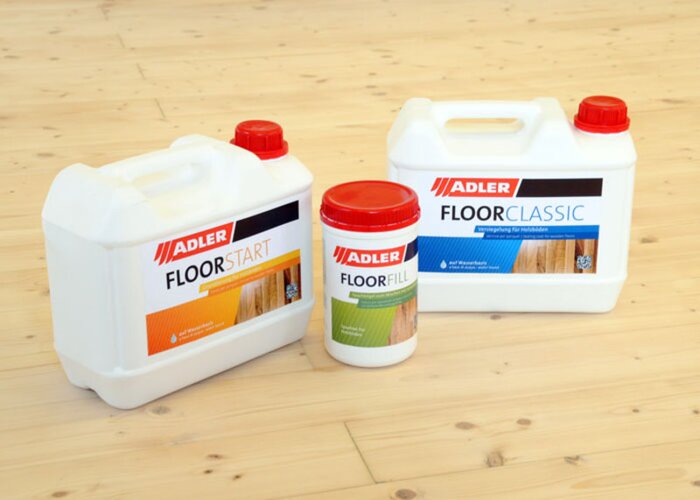
Renovating floorings and applying a new seal to them is a service that many dwelling and house owners leave to the professionals. ADLER offers you a complete simple and universal system for this purpose, the ADLER Floor Rail. You can meet all customer requirements with these four products. This includes efficient processing and immaculate results.


Steps
-
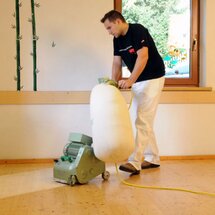
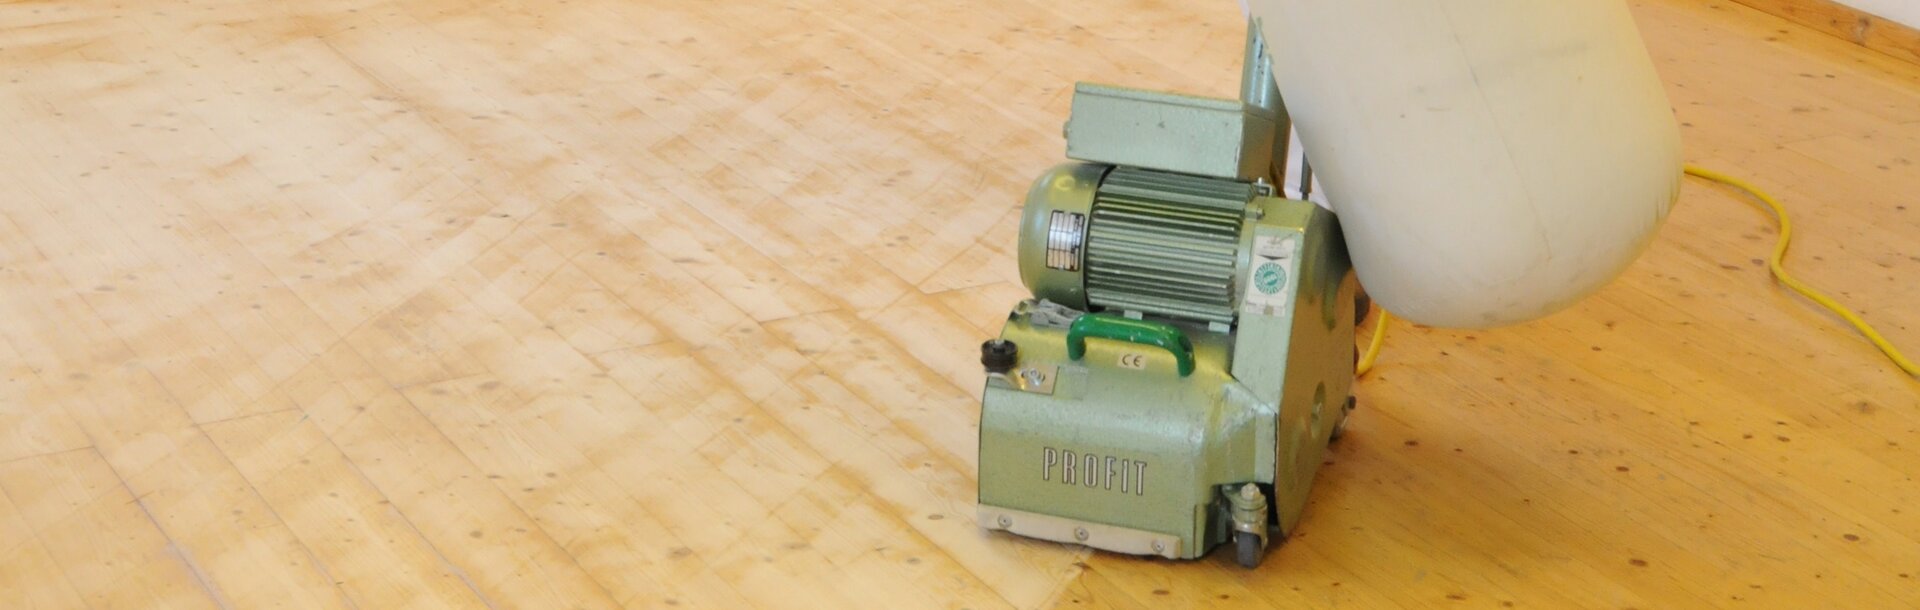
Step 1 – Sanding
As a professional, you know that: sanding is half the story and critical for a fantastic end result. Explain this to your customers. Then he will understand why sanding up to the raw wood, which, in fact, means intensive work and dust, is absolutely necessary.
-
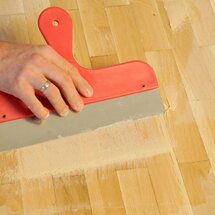
Step 2 – Seal fine cracks and joints with Floor-Fill
Before you complete the sanding work, check the bonded parquet floor for cracks and joints. You can touch these up and seal them with ADLER Floor-Fill. Take the fine and clean sanding dust of the penultimate sanding operation and mix it with ADLER Floor-Fill. A filler mass similar to putty is formed. You can fill up the cracks and joints with this. Everything is dry after 1 to 1.5 hours and you can remove the last bits of unevenness with the last round of fine sanding.
-
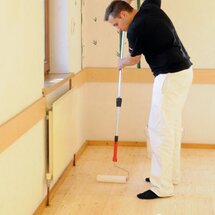
Step 3 – Apply a prime coat to the floor with Floor-Start
Remove the dust thoroughly before you start applying the prime coat. Extract the fine dust and wipe it with a damp cloth. When everything is dry, you can apply ADLER Floor-Start along the wood grain. A short-bristled roller brush is suitable for this purpose, with which you can apply the prime coat to the floor in tracks. In parallel, you can apply the prime coat to the corners with a water paint brush.
Never pour the primer directly on the floor! This causes spots since the floor absorbs the primer too quickly, which is why you need to work swiftly here. The primer coat must then dry for about two hours. -

Step 4 – Apply the topcoat with Floor-Classic
The top coating is applied using ADLER Floor-Classic. If a particularly hard and resistant surface is desired, you may also apply the 2-component ADLER Floor-Finish. Under normal circumstances, ADLER Floor-Classic is completely adequate. The procedure is the same for that of applying the prime coat, only that the topcoat is applied twice. The first topcoat is dry after four hours.
-
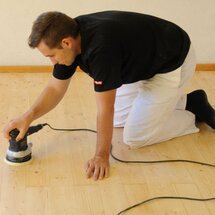
Step 5 - Sanding
Next, sand the surface of the floor slightly with sanding paper of grain size 240. Remove the dust carefully. You can then apply ADLER Floor-Classic once again. The floor is dry to walk on after eight hours.
Point out to your customers after completing the work that the seal has not yet cured or hardened 100 per cent. Scratches and spots could still occur. This is why carpets and movable furniture such as chairs should be kept or placed on the floor only after one week.

© by adler-lacke.com