
Making the renovation of historical windows easier with ADLER Histo
ADLER's new Histo system enables professional and top-quality renovation of historical casement windows. This solvent-based coating system guarantees perfect adhesion, even on aging wood that may have residues of linseed oil and on metal – handles can easily be coated at the same time. With its vapour permeable surface, the coating allows moisture vapour to pass through, thereby keeping the substrate dry.

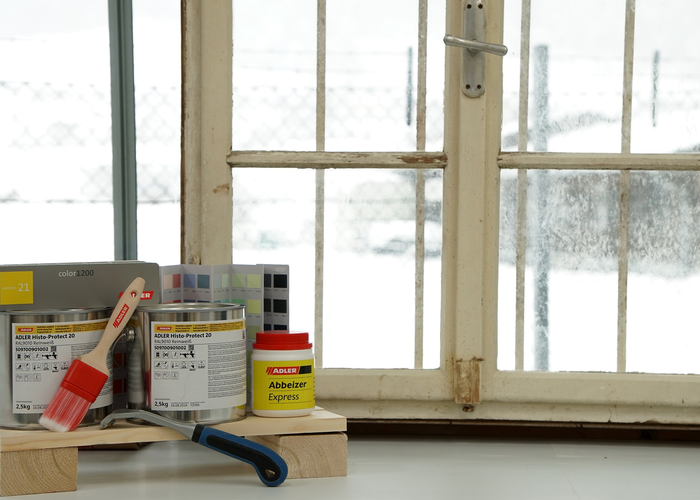
ADLER Histo is suitable for either brush or spray application – this means the window reveal can be coated on site, while the window casement is removed and coated in the workshop. Furthermore, ADLER Histo guarantees an authentic, silky matt surface in either white or a range of selected colours. ADLER's application technologists Veronika Kronberger and Reinhard Spinn give us a step-by-step demonstration of the renovation of a historical casement window using ADLER Histo:
Steps
-

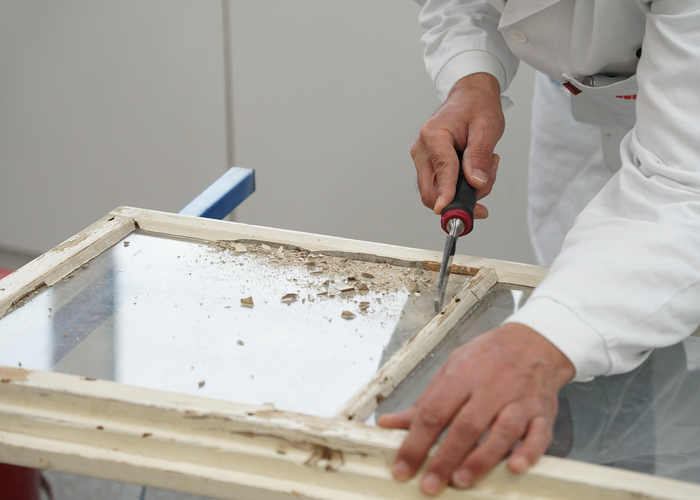
Step 1: Removing the putty and the glass
Once you have removed the window casement, make sure it is free from old putty. We would recommend asking a professional expert to remove the glass.
-
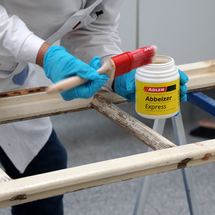
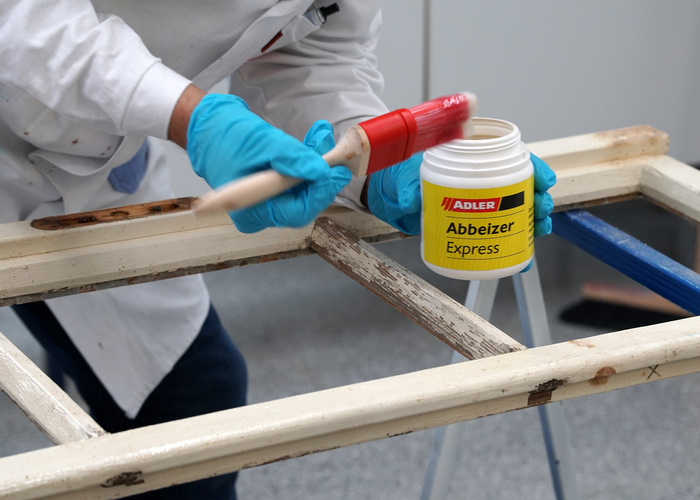
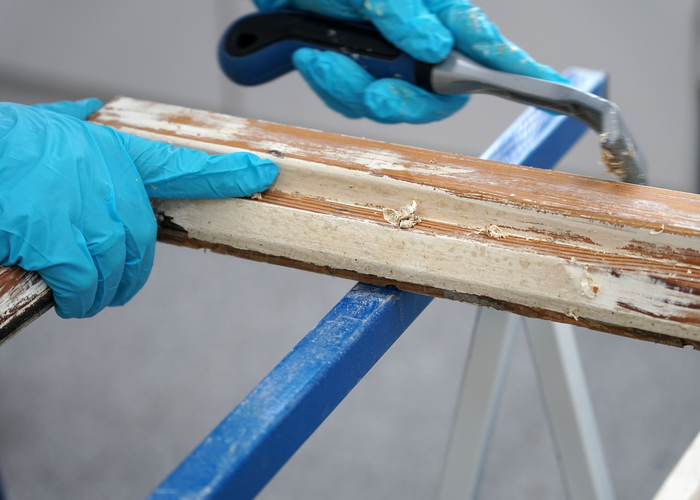
Step 2: Removing the old paint or varnish
In the next step, the old coating needs to be completely removed, as far as is possible. To do this, use a paintbrush to apply ADLER Abbeizer Express, leave it to work in for 30 minutes and then remove the paint or varnish with a stripping knife. As an alternative, you can also burn off the paint or varnish with a heat gun.
-
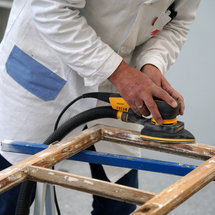
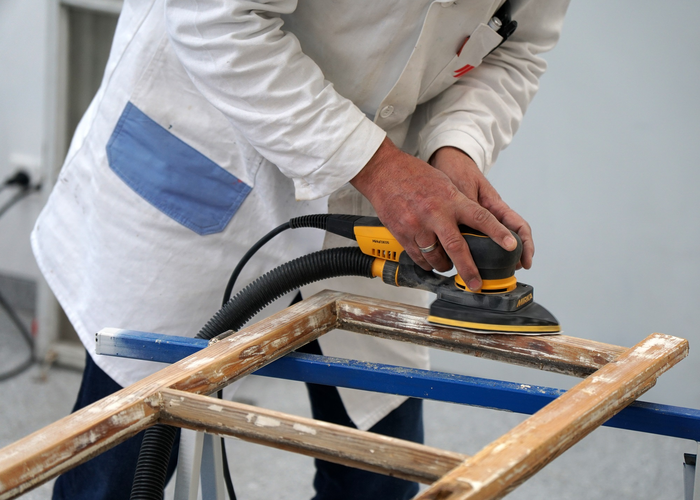
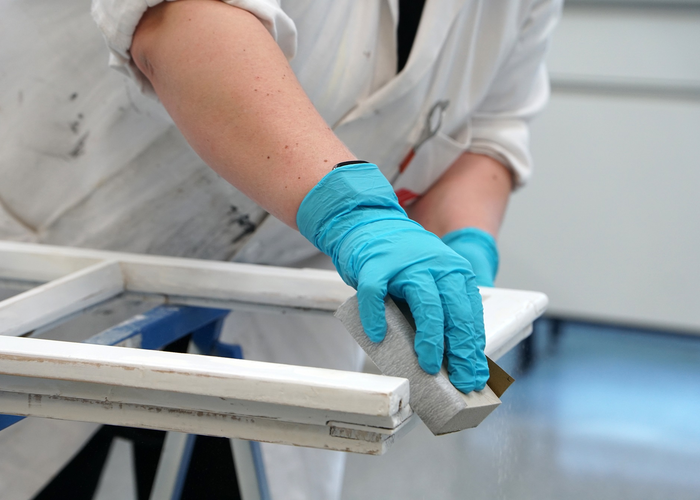
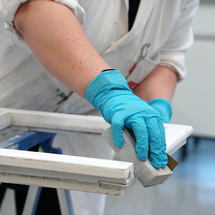
Step 3: Sanding
Sand the window casement and reveal using a grit size of 100 to 150 (softwoods) or 150 to 180 (hardwoods) and remove the dust from sanding.
-
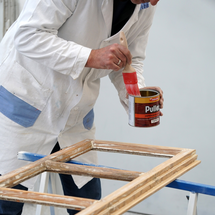
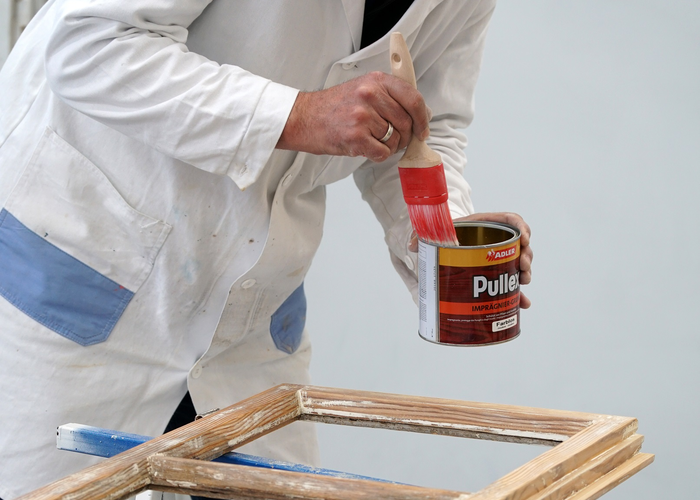
Step 4: Impregnation
If chemical wood protection is needed, impregnate the window with Pullex Imprägniergrund. The window should then be left to dry for around 12 hours.
-
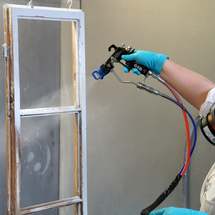
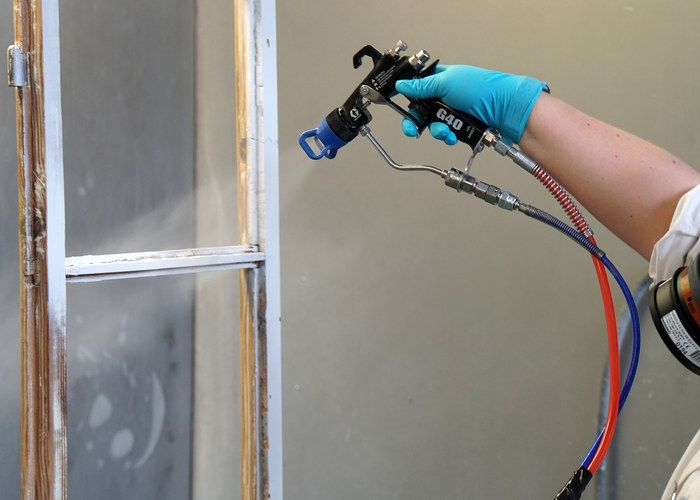
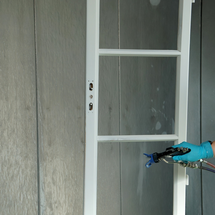
Step 5: Priming
Use a paint sprayer to apply a coat of ADLER Histo-Base primer, with a maximum quantity of 100µm wet film thickness. Alternatively, the surface can also be primed with a paintbrush or a paint roller. Leave the surface to dry completely, then sand it once using a grit size of 240.
-
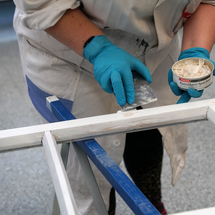
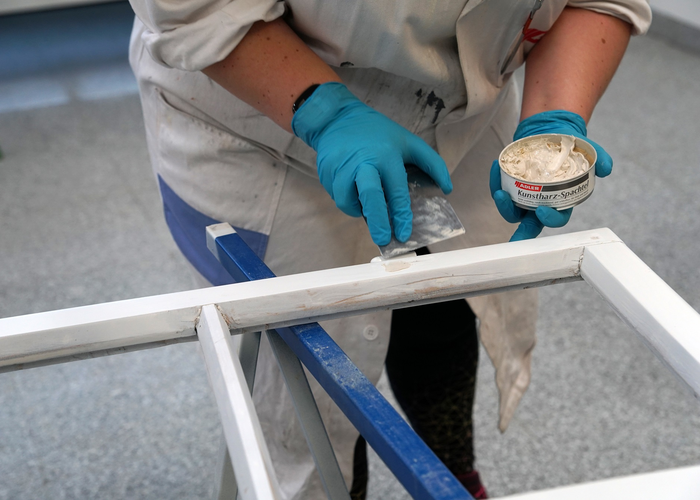
Step 6: Touching up any damage
Gaps or other damaged areas in the surface can be touched up with ADLER Kunstharz-Spachtel. Leave the filler to dry for 16 hours, then sand it to create a smooth surface using a grit size of 120.
-
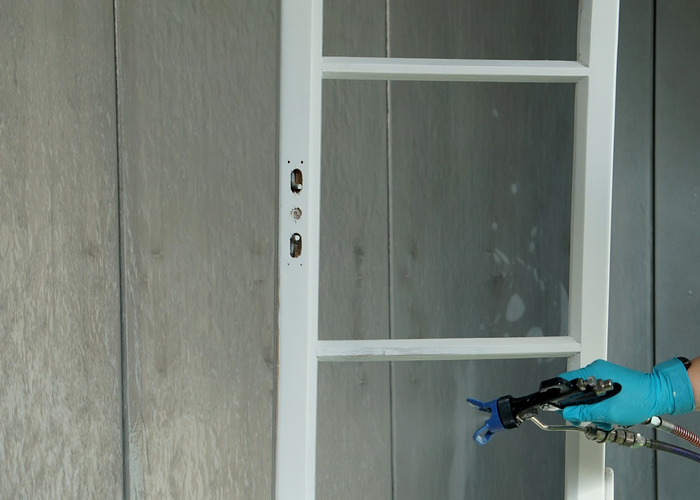
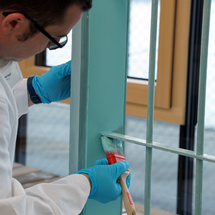
Step 7: Applying the topcoat – first coat
Apply a first coat of the topcoat ADLER Histo-Protect. Here too, you can use a paint sprayer, paintbrush or paint roller. The quantity to be applied should not exceed approx. 100µm wet film thickness.
-
Step 8: Intermediate sanding
Sanding between coats with a grit size of 240 allows you to smooth out any areas of unevenness and ensures better adhesion of the finishing coat.
-
Step 9: Applying the topcoat – second coat
A second coat of ADLER Histo-Protect gives the window a perfect surface. With spray application it may be possible to miss out the second coat, depending on the quantity applied. By the way: this coating is not only available in white but also in a range of carefully selected colours – so every window can be given its own individual and authentic look.
-
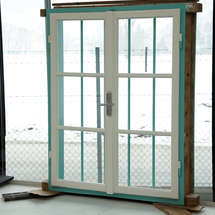
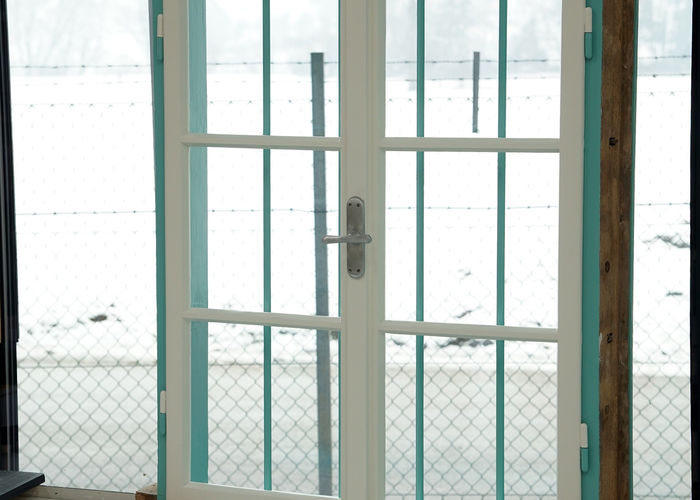
Step 10: Final stages
After drying, the window panes need to be refitted and secured with putty and the handles need to be reattached. Now your historical wooden windows look great again, with an elegant, "old but new" look!

© by adler-lacke.com