Colourless high-gloss surfaces
Mirror, mirror on the wall - who's got the most beautiful high gloss in the country?


Cherry, plum, walnut: Precious woods really shine in high-gloss look: The trend towards high-gloss surfaces is continuing but it is for the painter a real challenge: Only clean, patient and precise work ensures a perfect result. ADLER reveals step by step, how to crate colourless high-gloss finishes.
The right ground
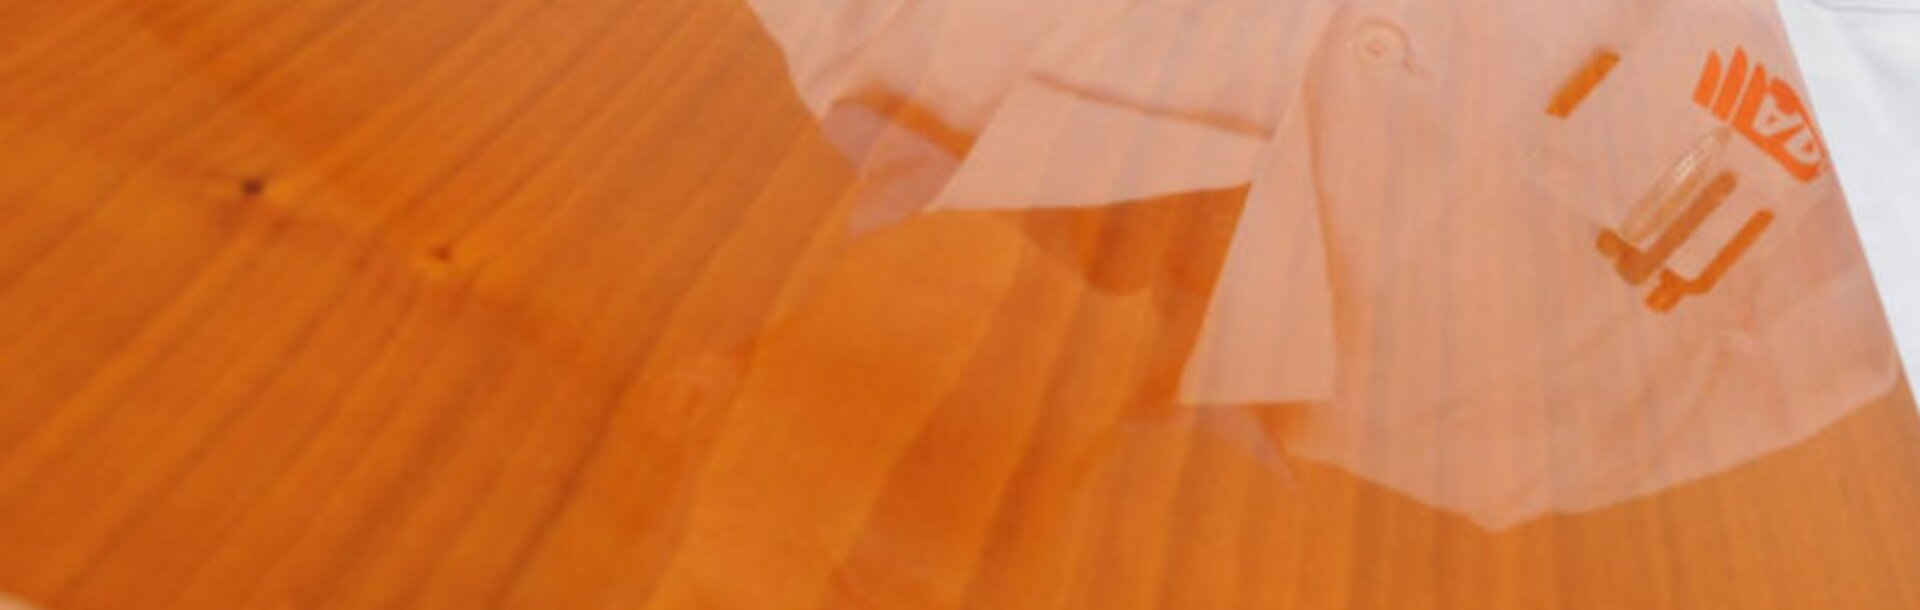
Each kind of wood can be brought to a high gloss finish. Especially fine, grained, dark woods achieve a nice result. ADLER application techinician Klaus Moser has opted here for cherry wood veneer.
Steps
-

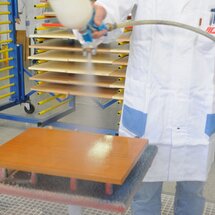
Step 1: Staining
Spraying ADLER Aqua-Classic stain in the colour amber, Klaus Moser creates a noble surface on the cherry wood.
-
Step 2 – Applying the filler
The prerequisite for flawless high gloss is the application of the filler. Depending on the type of wood and porosity you have to apply more or less layers of ADLER PUR-Füllgrund. In this case are applied three to five layers. The first one an bit thinnerto avoid bubbles, the next full. After each application, a drying time of min. five hours is necessary. If there are more layers, the drying time between the applications has to be extended.
-
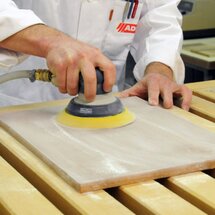
Step 3 - Intermediate grindings
Each layer of the filler must be sanded before the next job. Most practical is that with the eccentric sander (but beware: don't grind through!), The grain is always fine: 320 grit for the first layer to 500 grit for the third. "There may not remain shiny patches because they would appear in the end," says Klaus Moser. He recommends making the finishing touches by hand along the less consistent natural finish, because the round sander sanding marks could remain.
-
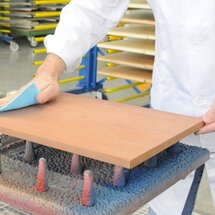
Step 4 – Cleaning
Before you continue work and apply the gloss coating, the surface must be cleaned from the grinding dust! We recommend to use an air jet with a special anti-dust cloth.
-
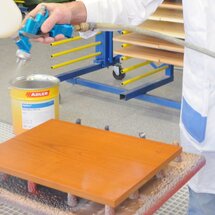
Step 5 – Gloss paint
Klaus Moser applys two layers of PUR-Glanzlack. The first layer needs a drying time of about three hours before the application of the second layer. There is no intermediate sanding! However, before polishing you must keep a drying time of at least three days.
-
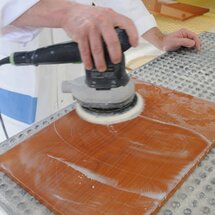
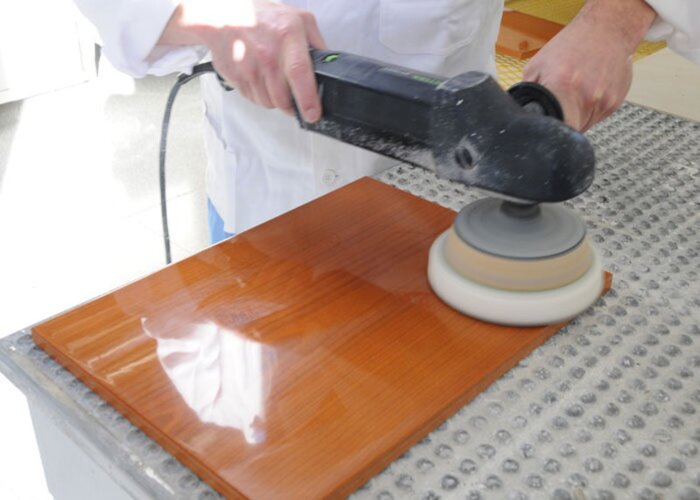
Step 6 – Wet sanding
If the gloss paint is dry, the result looks already pretty good - especially if you did a clean job avoiding dust. But who really wants to obtain a perfect glossy surface, work doesn't finish there. It's time to polish (or buffing). Start with wet sanding: Spray soapy water on the surface and sand gradually with grit 1000, 1500 and 2000 respectively.
-
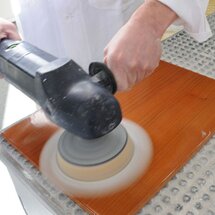
Step 7 – Polishing
Now it's time for the polishing: First distribute a coarse polish on the surface and polish with a sheepskin pad; then repeat this step with fine polish and a foam pad.
-
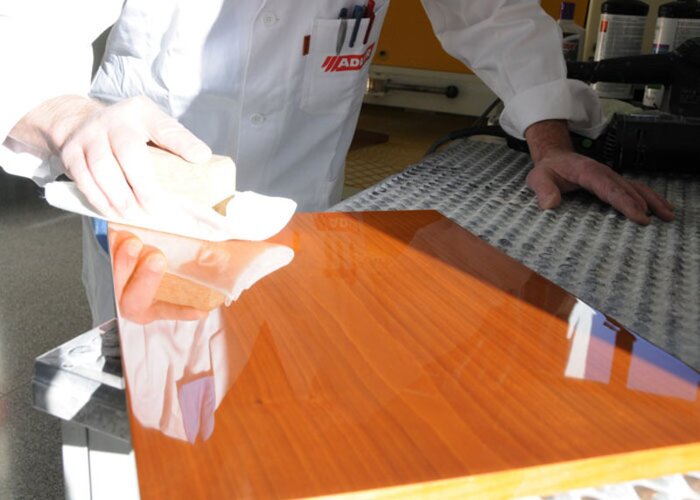
Remove the remaining cloudiness from polish with a microfibre cloth and in the end polish with high-gloss polish. For product recommendations refer to the ADLER-Work Directives.
-

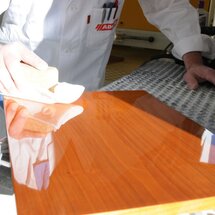
Result
ADLER application techinician Klaus Moser is reflected in the result. The trained carpenter is working in the application engineering for furniture at ADLER for twelve years and has shown us how to get this brilliant result.

© by adler-lacke.com